
Hello LCC members,
Here is Part 2 if you did not see Part 1 here’s the link
In this post I will show you examples of my workflow with short explanations.
To start off here is a RAW image Straight Outta Camera “SOC”
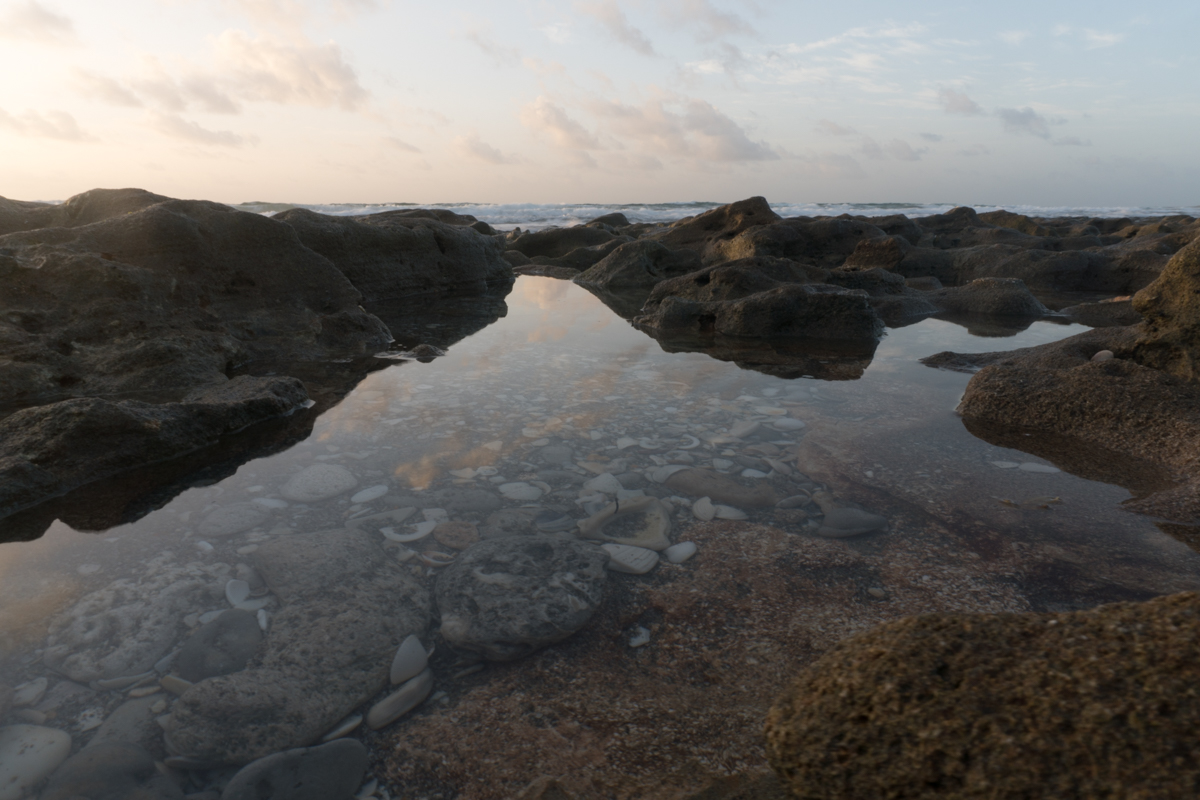
Technical Info, for those that need to know : Camera Sony A6500 ISO 100, 16mm , f22, 1/8 sec Handheld, Low Perspective
The first thing I did to the image was straighten and crop it.
The image is still in RAW some photographers like to do the crop and straighten as a last step but you can do this in any order you want to there are no rules. This is your art and vision for your image.
Next step is to use either Lightroom or other software to process the RAW photo.
TIP: Camera manufacturers typically bundle software to process RAW files. It was in the box with the manual either a DVD or a link to the website in the manual to download software.
The software I used on this photo was ON1 Photo RAW 2017
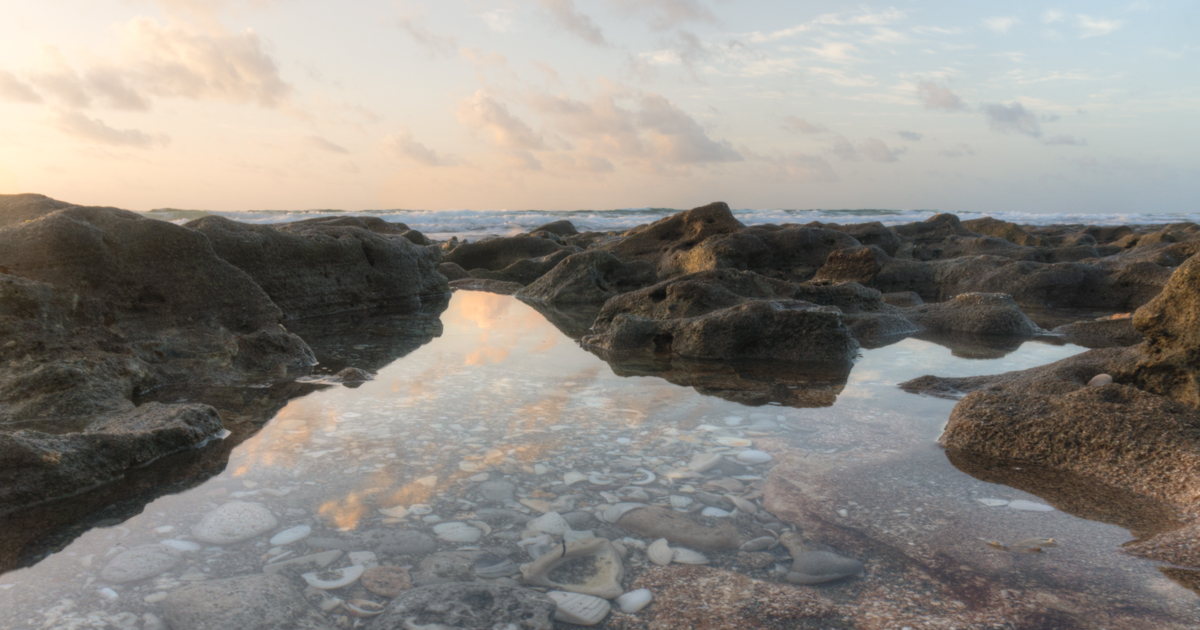
Here is the photo after processing

In On1 Effects I used the following Dynamic Contrast, Sharpen, Clarity and Color
Heres the Before and After
-

- Before Post Processing
-

- After Post Processing
If you have any questions or would like the club to have a class on this or other post processing software let us know.
In my next post I will show examples using HDR techniques and will explain it from start to finish.
Steve

Pingback: Why Post Process? Part 3 | Lighthouse Camera Club