F-Stop what does it do?

Hello LCC members,

Today I will talk a bit about aperture (f-stop) AV

This little number that can range between f1.2 – f64 depends on your lens. If you look at your lens it will have this number on the lens as either a fixed value for prime lenses or a variable value for zoom lenses i.e. 3.5  – 6.3 . This number indicates how wide open the aperture can be set.

Remember with aperture the lower the number more light enters the lens the higher the number less light enters the lens. So f1.2 is more light and f22 is less light.

Put most simply – Aperture is ‘the opening in the lens. Moving from one f-stop to the next doubles or halves the size of the amount of opening in your lens (and the amount of light getting through).

Now don’t confuse this with shutter speed we will discuss that in another post as well as the exposure triangle.

Here are some photo examples in which I used a 50mm f1.8 prime lens and my focus was set on the ball of string in the front. The only change I made was to the aperture setting.


This photo is shot at f1.8 notice how the background is blurred aka shallow Depth of Field (DOF)

This photo is shot at f1.8 notice how the background is blurred aka shallow Depth of Field (DOF)

This photo is shot at f4 notice how less of the background is blurred and more of the scene is coming into view.

This photo is shot at f4 notice how less of the background is blurred and more of the scene is coming into view.


This photo is shot at f8 now  we can see the items in the background and the depth increases into the image.

This photo is shot at f8 now we can see items in the background a bit clearer  in the image.


This one is shot at f16 again the items further from the lens become clearer.
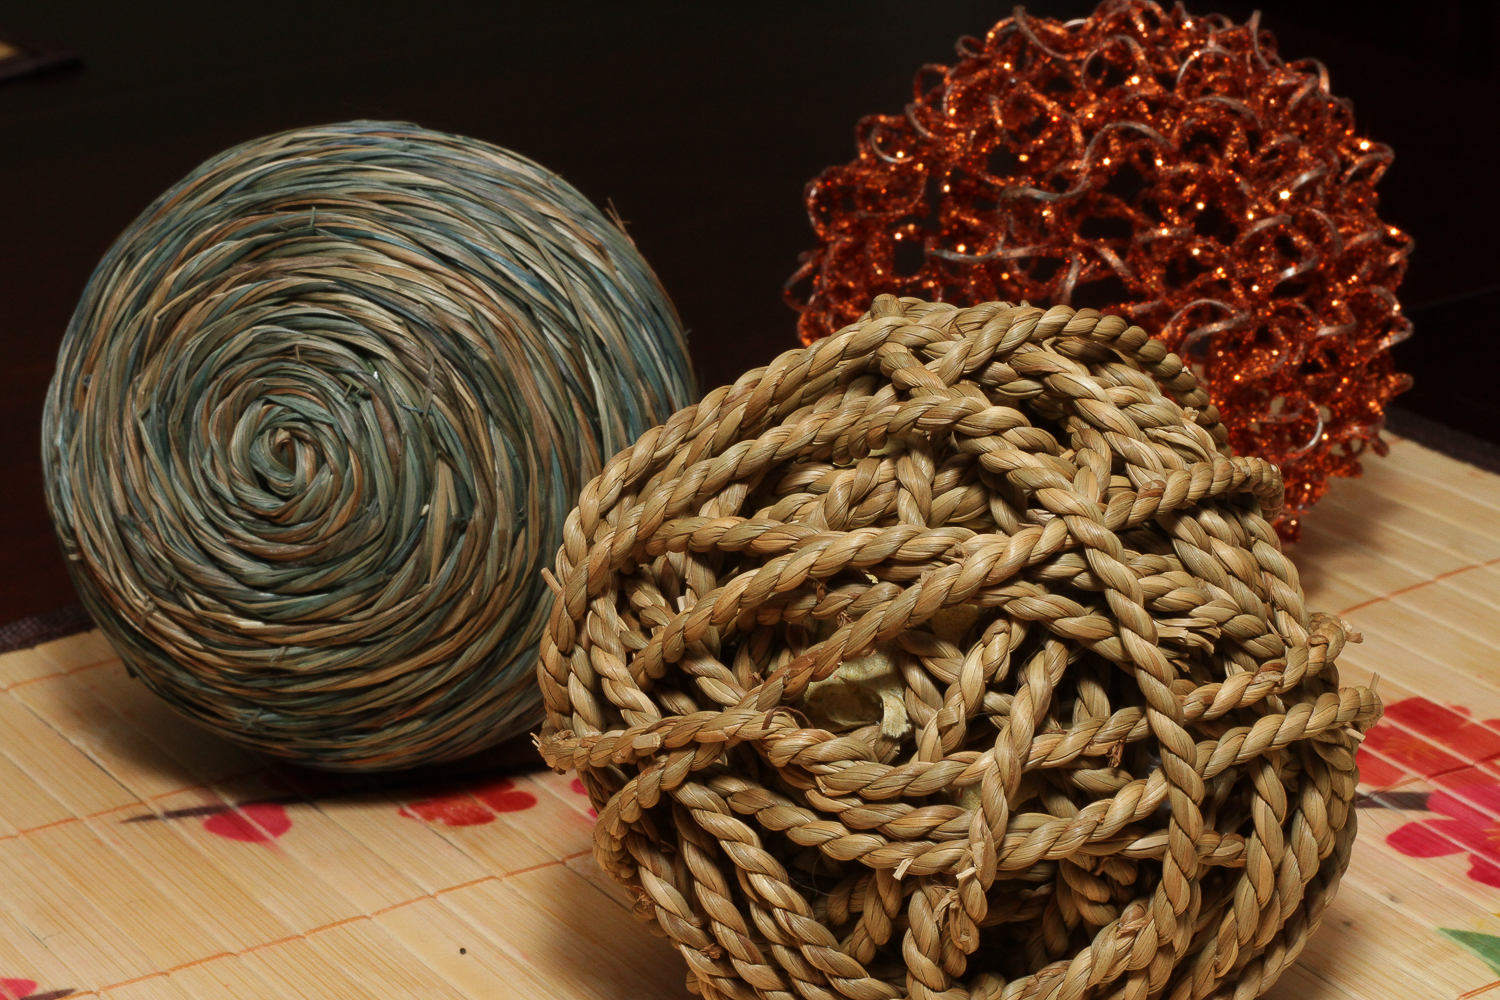
This one is shot at f16 again the items further from the lens become clearer.

This is shot at f22 which for this lens is the max. Notice that all the items are in clear view from front to back of the image.

This is shot at f22 which for this lens is the max. Notice that all the items are in clear view from front to back of the image.

Learning how to use the aperture setting is a great way to pull the viewers focus to what you want them to look at. For instance in a portrait a low aperture setting between f1.8 or f8 would be a good choice. In a landscape it would be f16 or f22 as you would want to show the entire landscape.

This week take some photos and just change the aperture setting get out of program mode and take control of your image making. If you do not know how to change the setting this would be a good time to find that camera manual.
 

Better Gear Better Photos?

Hello LCC members,

It seems like my e-mail lately has been filled with announcements about the newest gear. All of the stuff starts off with the promise of better this or that more features better video etc etc.

But you know what?

Here is the bottom line most every camera on the market today captures high quality images. Why do I say that well it is a fact if Canon,Nikon,Pentax,Sony and the list goes on did not capture great images they would go out of business. That’s right it is a business that has to ride that perpetual circle of more, better and faster.

But, you must ask yourself how much more, better and faster do you really need?

The camera is just a tool like a paintbrush and it is your hands, eyes and brain that make it work. My point here is that in my opinion you are much better off to invest your additional $$$ in books, photo work shops, classes or post processing software.

Much of what I have learned up to this point has been from books and attending photo work shops and various classes.

Some helpful books I can suggest are:

All books by Bryan Peterson many of which are available at the Palm Beach County Library. His books are written in an easy to understand format without getting too technical.

For Black & White photo techniques and processing I can recommend From Oz to Kansas: Almost Every Black and White Conversion Technique Known to Man by Vincent Versace

Books by Scott Kelby are great sources for knowledge and techniques.

Books by Nicole S Young are inspirational and have great tips on improving your photography.

There are lots more great books these are just a few that have been helpful to me in my photographic journey.

” it’s more than just the gear it is also what’s between your ears that can make a great difference in your photography”

~Steve

Color or Black & White?

So the question is color or black & white?

The choice is up to you the photographer but many times processing your image in Black & White can bring out the subject and more detail. Removing color can also remove distractions which may take away attention from the main subject in your photo.

So what the heck try it both ways and see which you prefer.

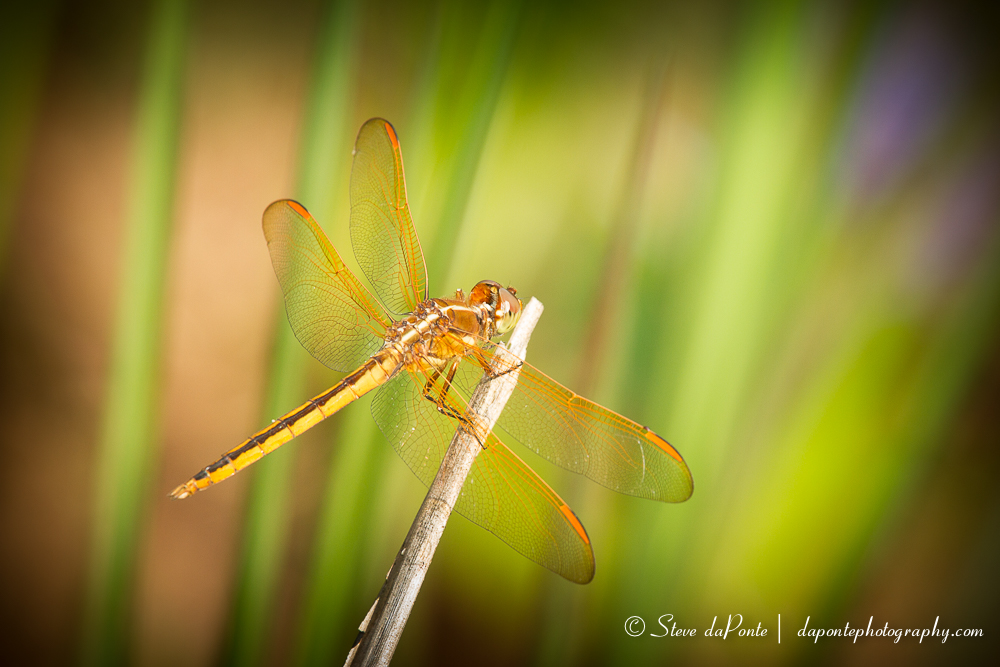
Here is an example of the same photo but one was color processed and the other Black & White processed.

stevedaponte_dragonfly_color_img0376

stevedaponte_dragonfly_mmc_img0376


FYI: This photo was shot at Grassy Water Preserve North the Dragon Flies are swarming right now.

Hog Hammock Trail

 Activities: Hiking, biking

 Hours: 7:00am-5:30pm

AmenitiesRestrooms and water at parking area, Shelters along trail

Parking: At Watershed Management building- 8537 Northlake Blvd


Please feel free to leave comments or questions below.

Bearadise and Busch Gardens Trip Photos

Here are some of the photos from the May 10 Bearadise and Busch Gardens Trip.


HDR- What Is It?

Hello LCC members,

HDR is simply a process of combining exposures, which by the way goes back to the 1850’s and was pioneered by  Gustave Le Gray to balance the exposure in capturing seascapes. Le Gray used one negative for the sky, and another one with a longer exposure for the sea, and combined the two into one picture in positive. Say what! Yep it’s not a new process.

Here is one of Gustave’s photos

Gustave_Le_Gray_-_Brig_upon_the_Water_-_Google_Art_Project

Photo by Gustave Le Gray

The film cameras of days gone by were limited by film sensitivity as are the digital camera sensor of today which only have about 9.5-16stops of range and our eyes have about 20.

Fast forward to the modern day, our cameras are digital and the darkroom computer software which now makes it easier than ever to process our photos. The possibilities for creativity are endless and only limited by your imagination.

Much of the debate and misunderstanding about HDR photography comes from what I call creative processing. You know, images that look cartoony and over saturated. But you know what, that’s ok and it is the photographers creative choice and right to do whatever they want.

How does it work?

Well first you will need software to process the images, choices in HDR software are many Photomatix, NIK and Adobe Photoshop are but a few of the choices. I myself use Photomatix Pro to process my HDR sequences.

NOTE:

Before I explain further I suggest you have your camera and manual ready just in case you are not sure how to set your camera to shoot bracketed photos. This is key to image capture for use as an HDR photo sequence.

After consulting your manual you know how to set bracketing and your ready to run thru the example below.

Image Capture- Example of settings for a wide landscape/seascape shot.
  1. Put your camera on a tripod, “yes I know I have a love hate relationship with my tripod to” but it is key to shooting a successful sequence.
  2. Next make sure you have a remote or know how to set your cameras self-timer.
  3. Set your camera Mode to Aperture Priority Mode. The symbol on most camera dials is “AV” or “AP” and dial in the appropriate aperture.
  4. Set your cameras Exposure to Bracket -2, 0 and +2 if your camera can do more than 3 that’s great then you can set it at -2,-1,0,+1 and +2 or what ever spacing you desire.
  5. Set your Focus to manual focus and turn off the Image Stabilizer.
  6. Setting your Focus, If your lens has a scale built in indicated Meters/Feet set it to 1-Meter or 3-Feet if it does not pick something in the foreground of your composition about 3-feet away and lock your focus on that area.
  7. Set your Aperture to F16, F22 or the highest your camera/lens combo will allow. The Aperture setting will also depend on the quality of your lens. You will have to experiment to find the setting that yields the sharpest results.
  8. Compose your photo and fire away 🙂

I will give an example of processing with Photomatix Pro in a future video post.

Here are a couple examples of photos I shot on the St. Bernards field trip last week.