In two past posts Aperture and Shutter Speed were the subjects.
The subject for this post is ISO which is the third factor in controlling and setting the desired exposure.
What do the ISO i.e. 50,100,200,400,800 etc. numbers mean?
Back in the days of film you had to choose a film speed ASA Now ISO. The number indicated the films rated sensitivity to light. Now in Modern Digital Cameras the roll of film has been replaced by a digital CMOS or CCD Sensor. No more need to change a roll of film to change ISO you simply turn a dial 🙂
In todays digital camera the ISO number indicates the digital sensors sensitivity to light. The only drawback is that when you increase the ISO you decrease the image quality. This is due to digital noise created by the electronics involved. You could compare this to a sound system, you turn the volume up and at a certain point you will get distortion.
In digital photos the noise will slowly introduce a grainy look, if you zoom into a photo shot at high ISO like ISO 1000 something else happens to. The photo will start to have purple splotchy color cast to it. This is digital noise.
That is the trade off when using ISO to increase your ability to capture a handheld shot in low light conditions. So you should first try adjusting your aperture before going for the ISO increase or simply use a tripod.
With the software of today high ISO images can be less problematic. Noise reduction software from Topaz works fantastic as well as the native noise reduction features in Lightroom and ON1
Here image examples one at ISO 50, ISO 6400, ISO 25600 shot with a Canon 5D MII & 100mm F2.8 Macro Lens
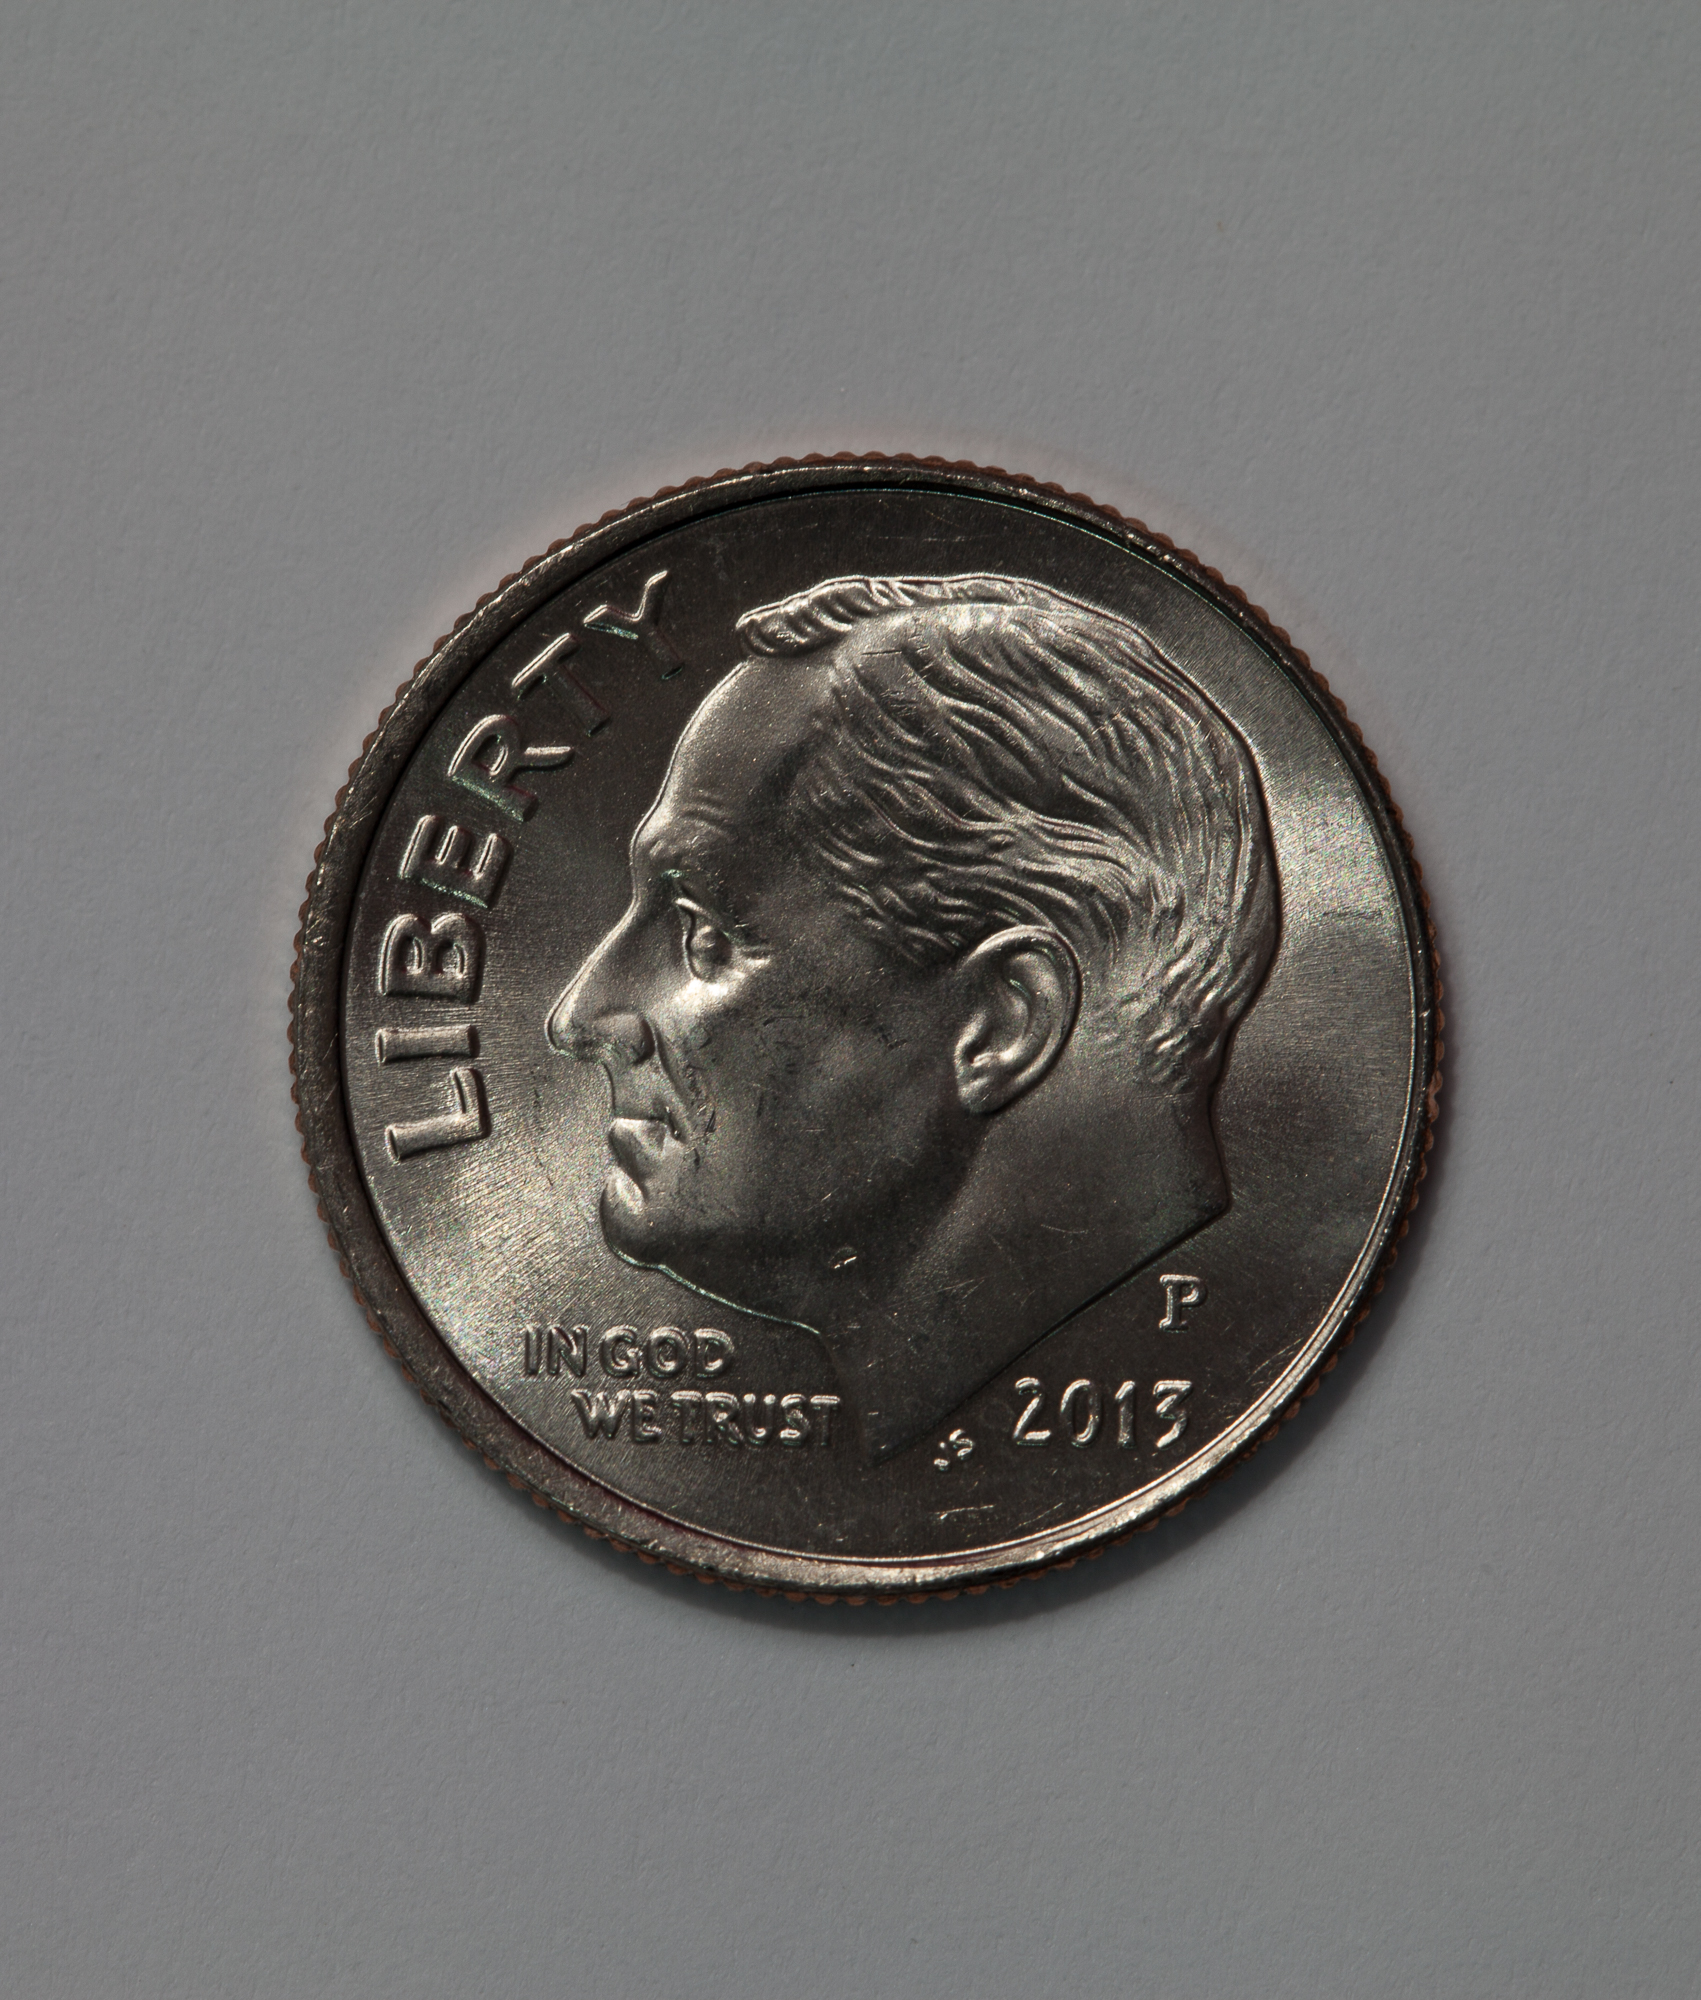
ISO 50
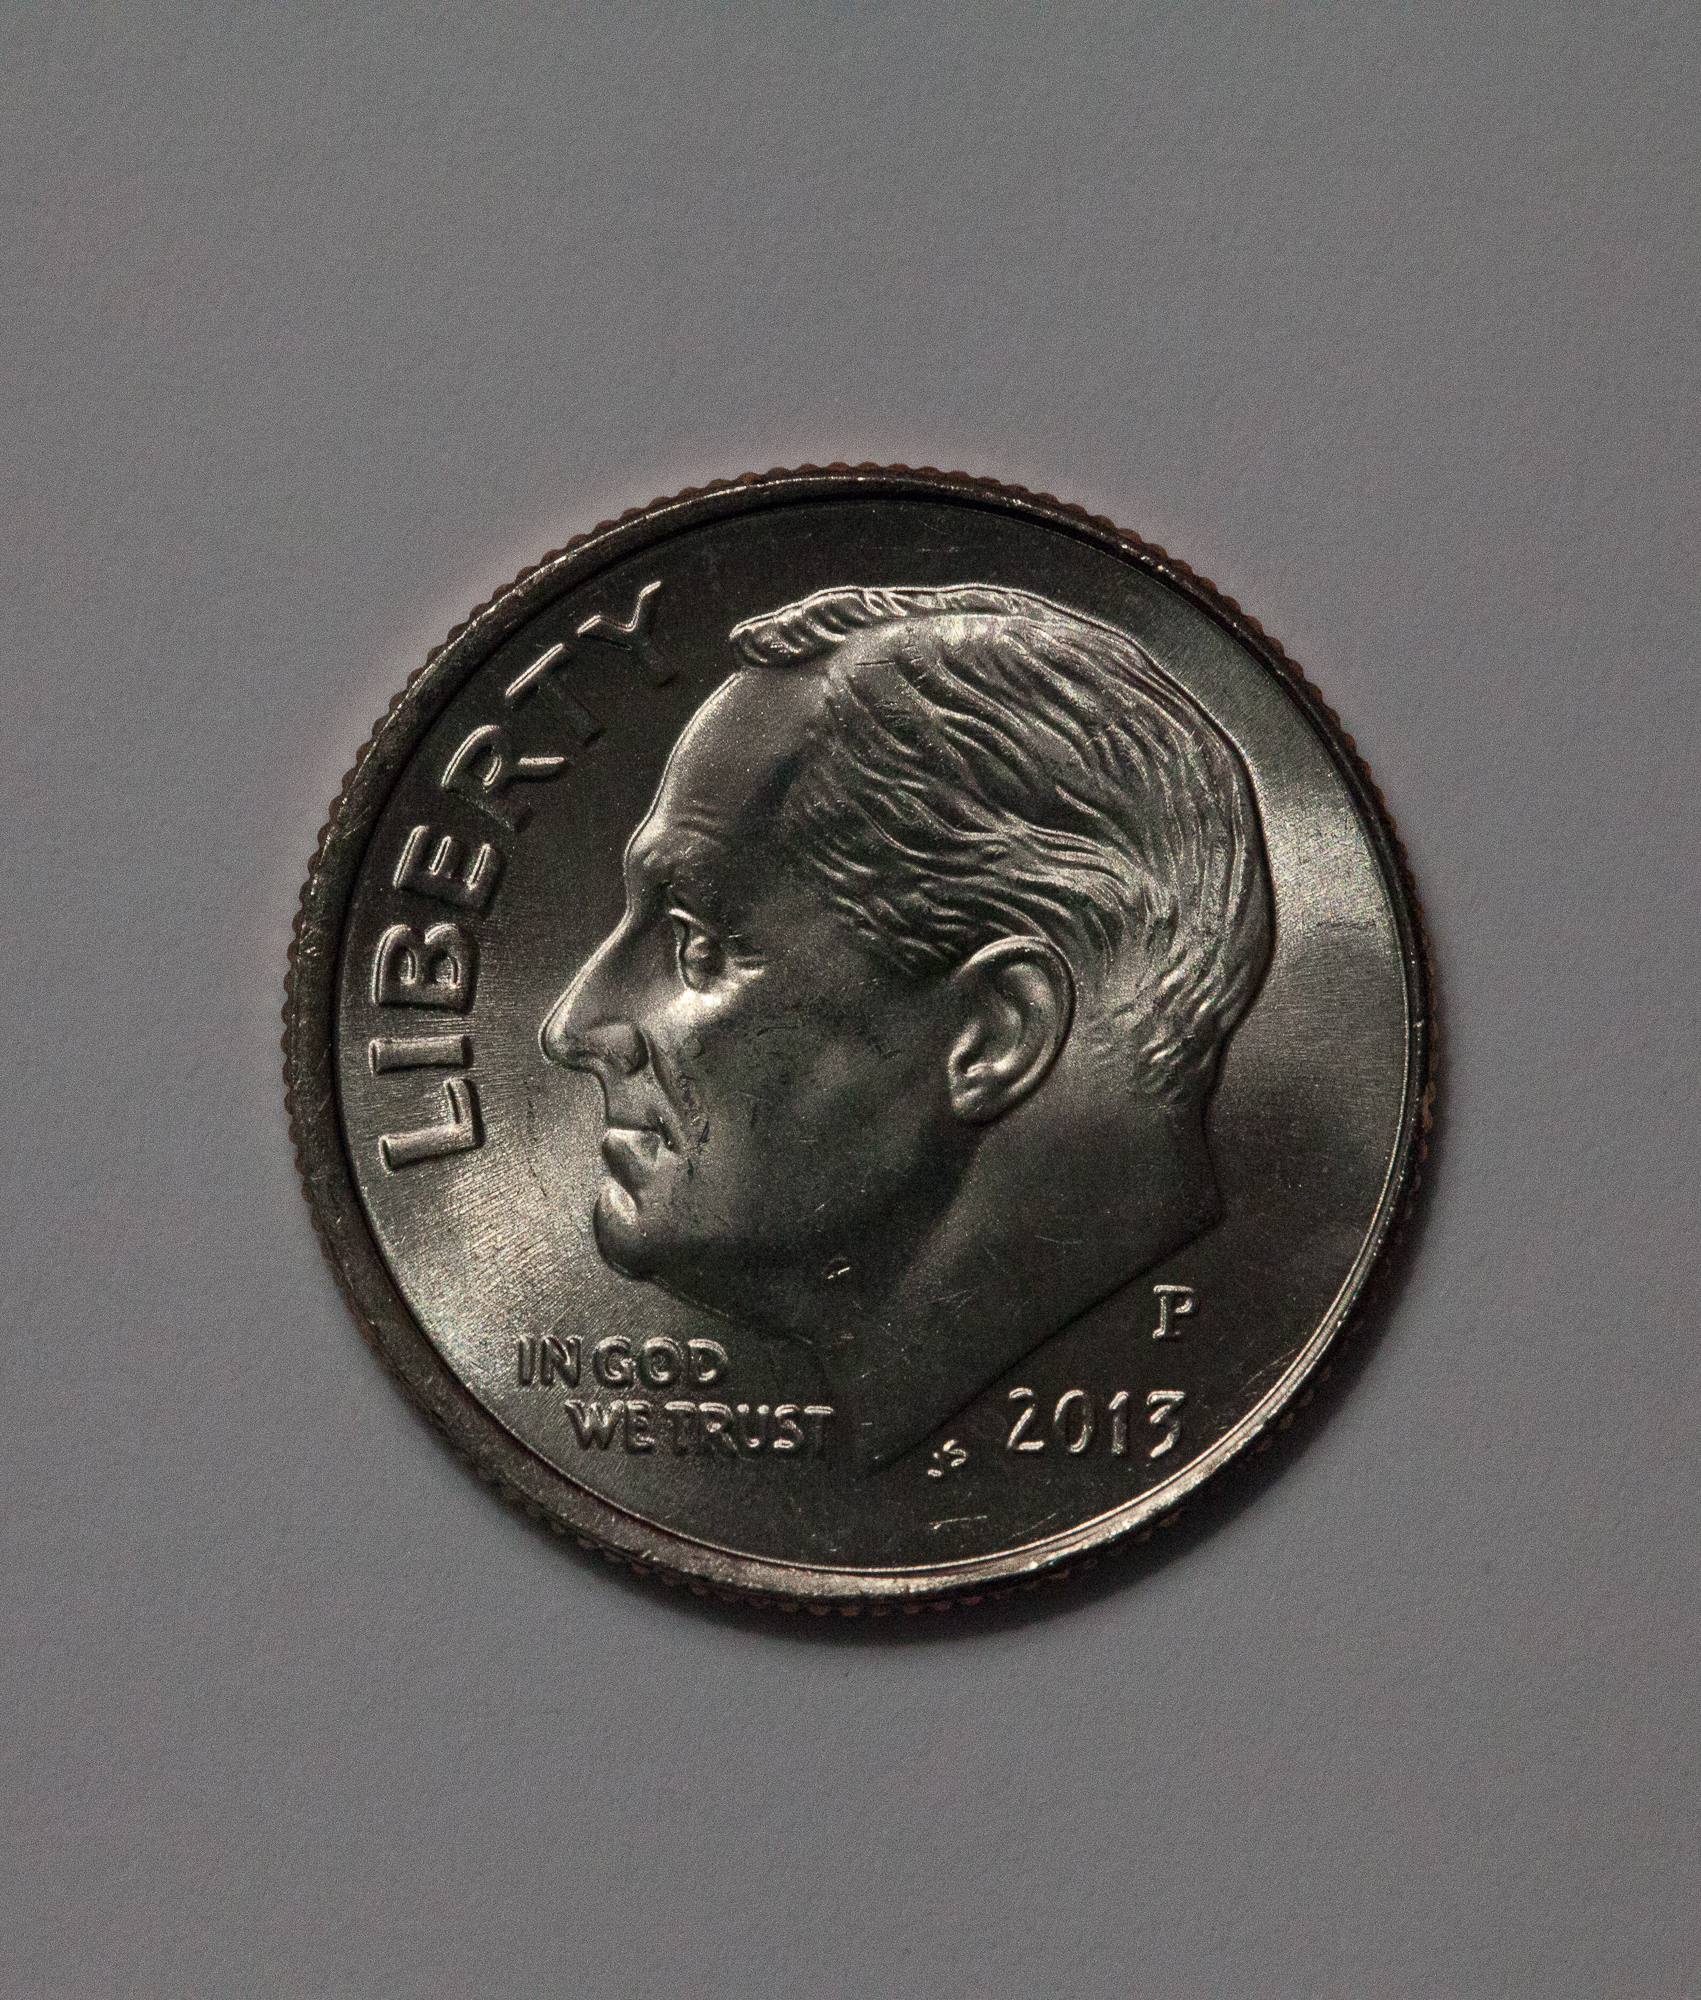
ISO 6400
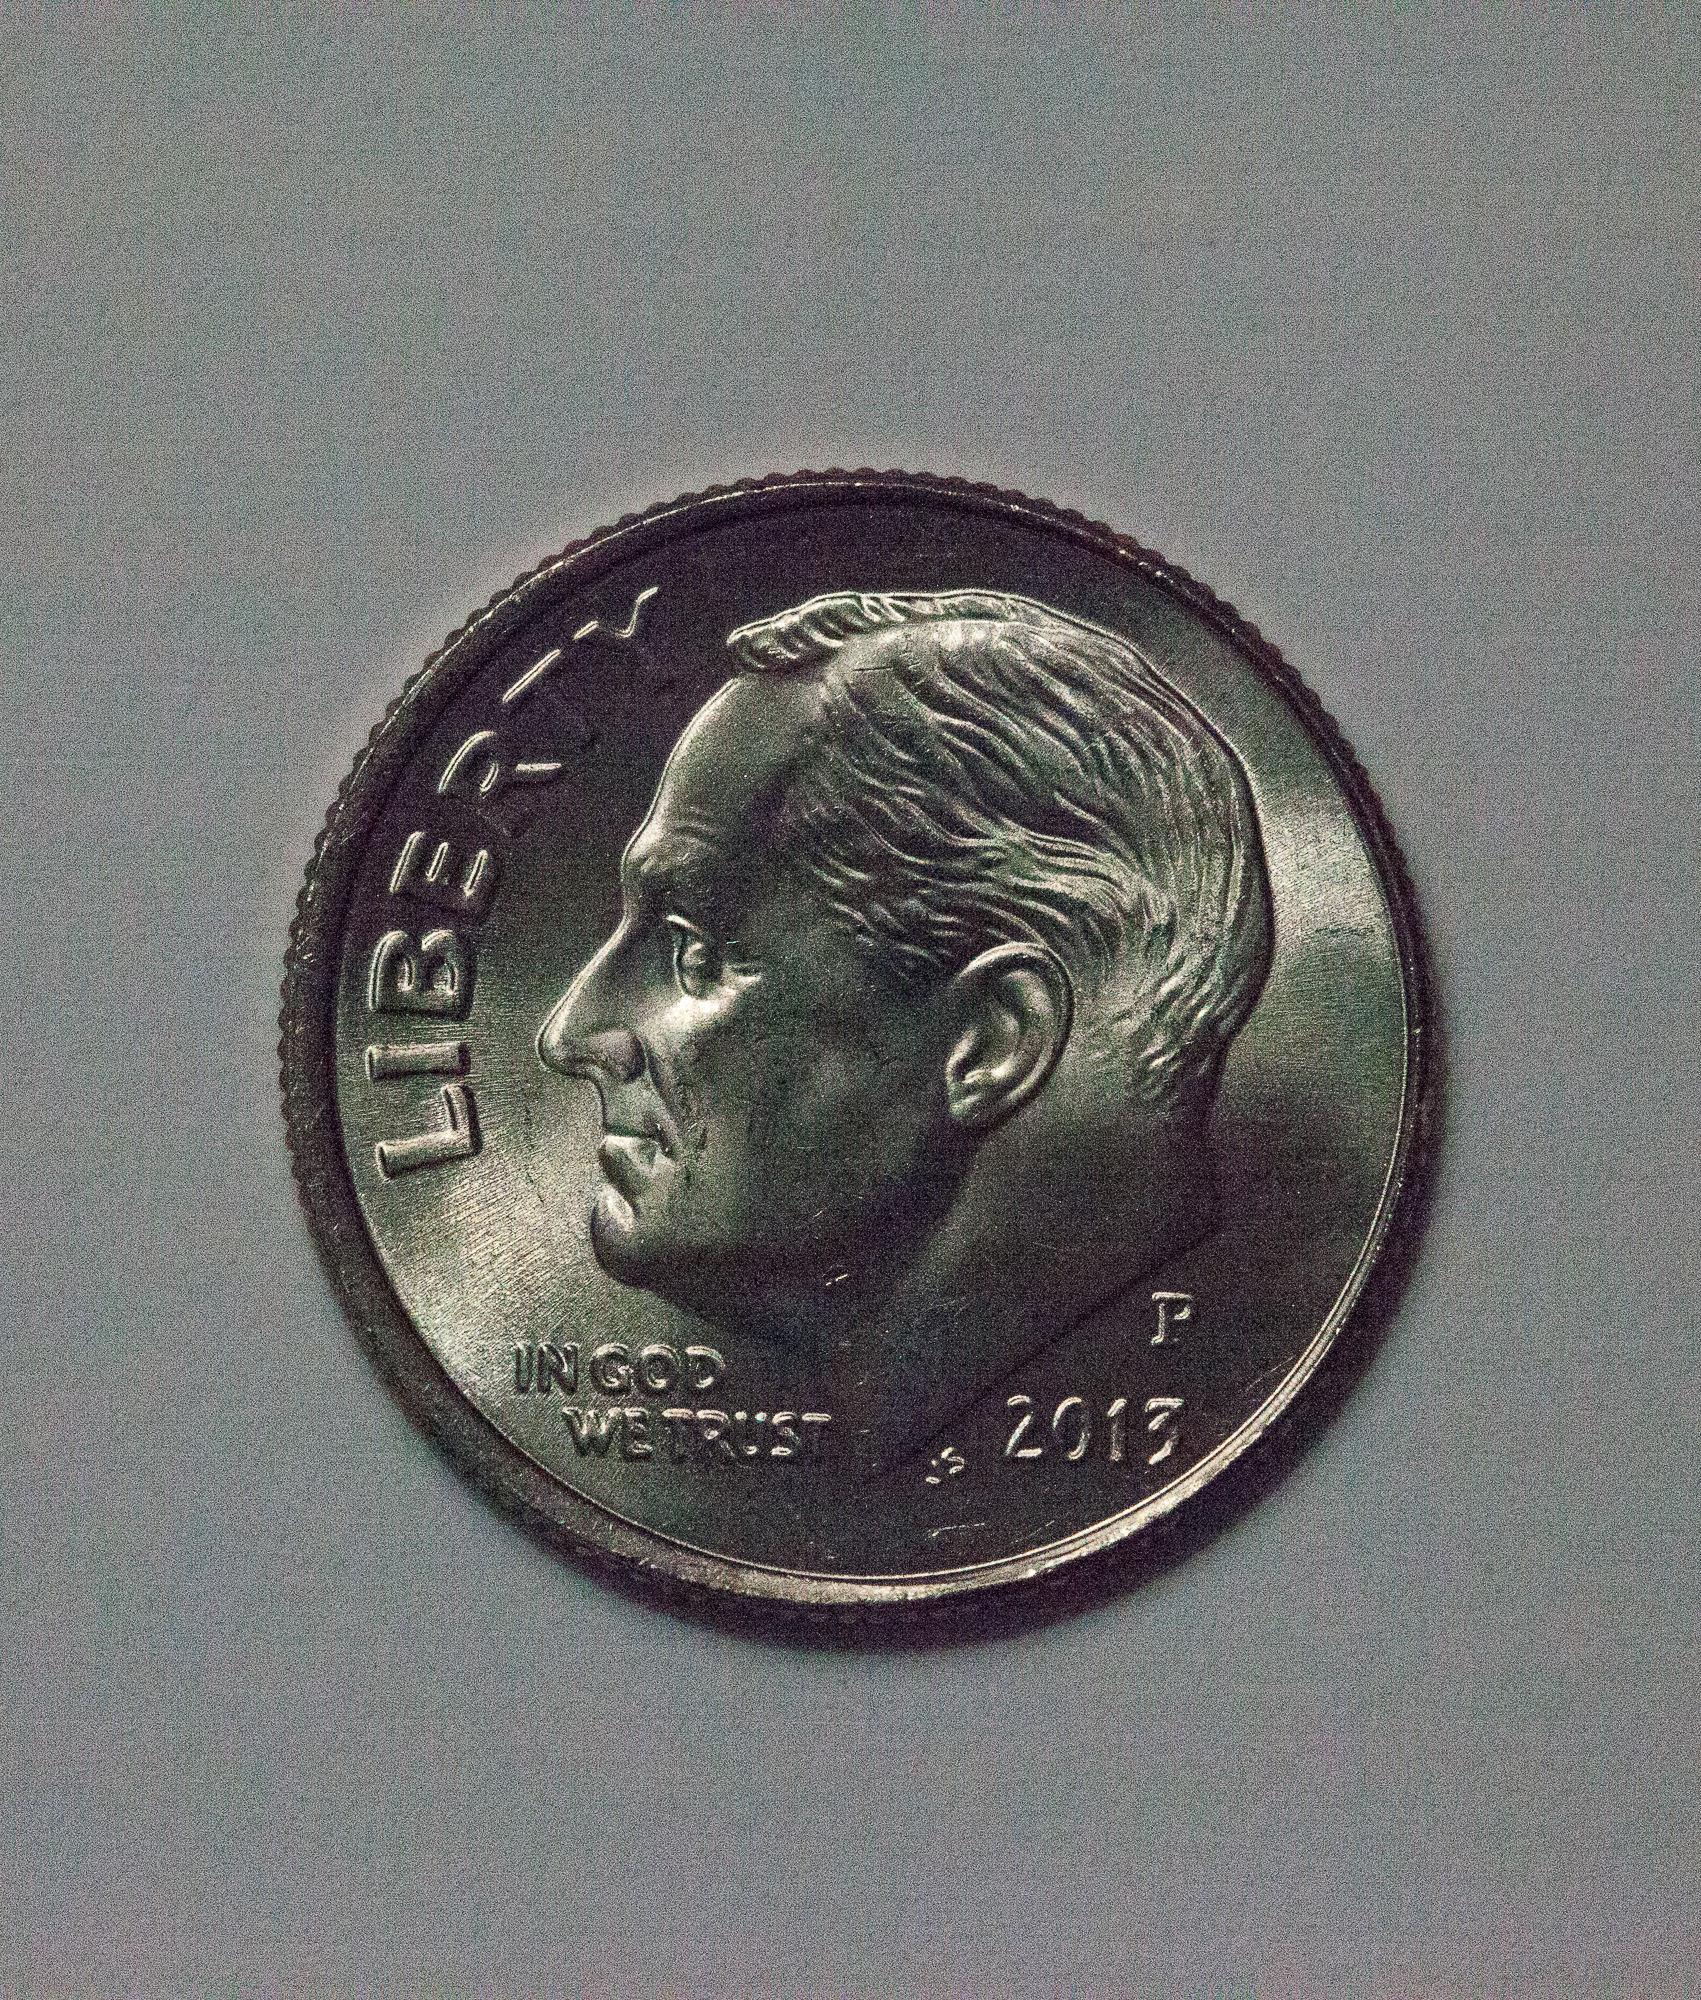
ISO25600 Grainy and purple/blue cast in the image